In many different cultures, serving alcoholic beverages is an integral part of the custom. Champagnes, wines, and several other kinds of alcoholic beverages are provided on every occasion, regardless of how big or little it is.
These will be an excellent addition to the collection of glitter event supplies.
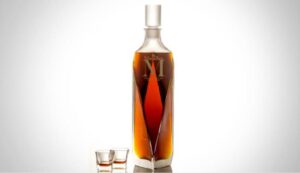
The Step-by-Step Guide to Making Custom Liquor Bottles (And Planning the Ideal Party!)
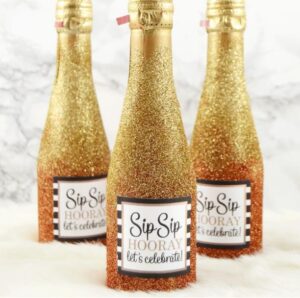
What else could be more impressive than presenting wine or champagne out of a bottle that was hand-crafted and glittered?
The creation of dazzling alcohol bottles is not a simple process, despite the fact that the notion is quite appealing. If you are familiar with the proper procedure for preparing glitter alcohol bottles, the process may be somewhat less difficult for you.
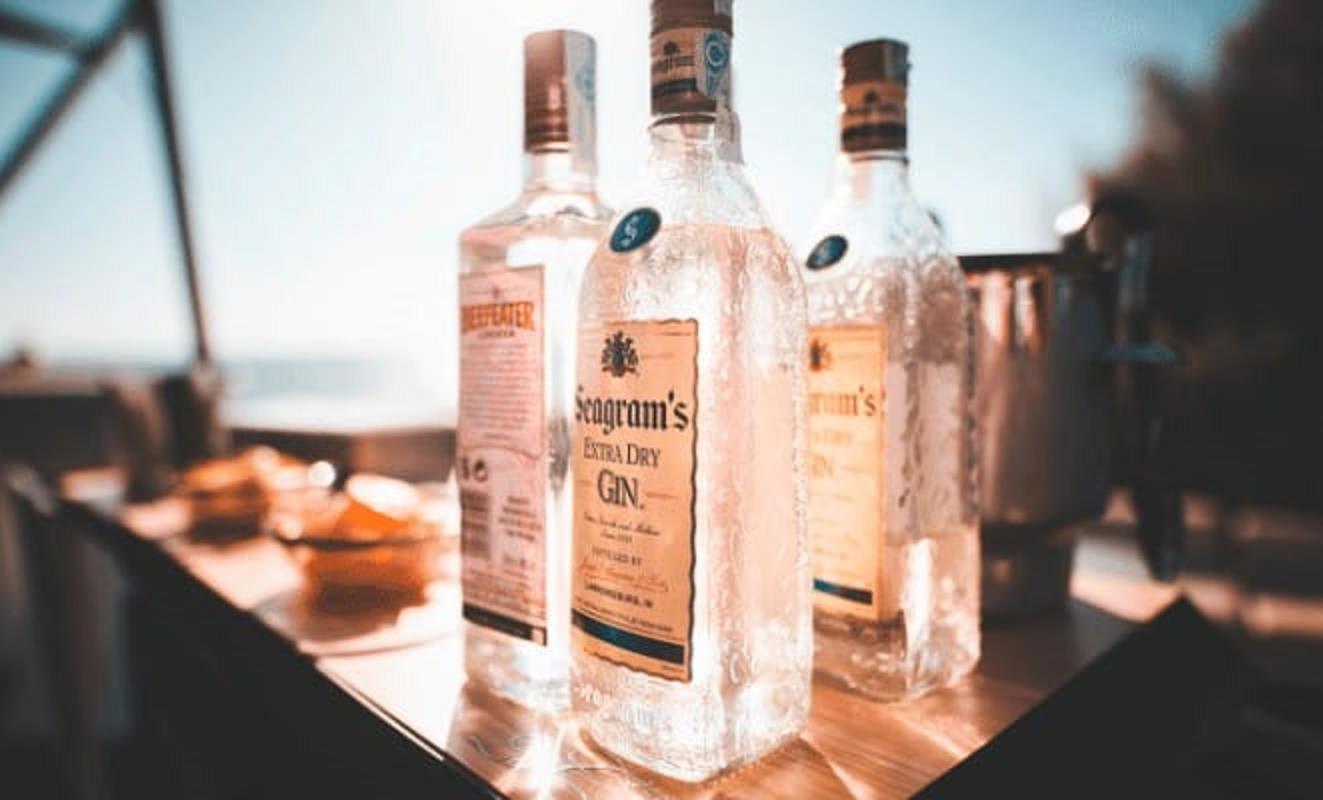
It’s possible that you have empty alcohol bottles lying around your house. You should follow the suggested ways to prepare glitter alcohol bottles rather than tossing them away since you may use them.
As a result, empty champagne and wine bottles can be repurposed into lovely bottles that can be used to serve alcoholic beverages or given as presents to those who are dear to you, including friends, relatives, and coworkers.
You will need these supplies in order to prepare the glitter alcohol bottles. Check the materials one last time before getting started to be sure you have everything you require. If you wish to put more liquid into the bottle, you can go out and acquire a bottle of good wine or champagne.
There is a diverse selection of wines and champagnes available for purchase. Choose a bottle of wine or champagne that can elicit the word amazing from your guests.
This method can also be applied to a bottle of alcohol that has not yet been opened. Just check that the container is well shut to prevent any glitter from escaping.
What you need for creating your own liquor bottles?
The following items are required for the preparation of a bottle of glitter alcohol:
- Bottles of wine, liquor, or champagne that have been emptied (or sealed).
- A great deal of glitter in the hue of your choosing.
- Spray glue with an increased level of strength
- Tape for making patterns in crafts
- Spray paint
- A package made of newspaper or cardboard
- Scissors
- The ribbon (optional)
- Cardstocks and tags that may be customized
You should have little trouble tracking these supplies down at a craft supply shop in your neighborhood.
How to produce your own sparkling alcoholic beverage bottles
Let’s hop in and get started! To begin, peel off all of the labels that are on the bottle. First, immerse the bottle in warm water, and then use a rough sponge to peel off the stickers and tags that are stuck to the bottle.
This will remove the labels. It might take as little as 15 minutes or as long as two hours to complete this task. After you have eliminated all of the labels, rinse the bottle with gentle soap and then allow it to air dry thereafter.
Step 1: Cover up any places that you do not want to glitter.
If you want the entirety of the bottle to glitter, you may omit this step. To give the bottle a more distinctive appearance and to make room for the label, you will need to tape over some portions of the bottle.
Make sure to cover the sections of the bottle that you want to when you use the patterning tap. Use little pressure when applying the tape, and then give it some time to adhere. Keep the edges open so that you can quickly remove the tape once the bottle is covered in glitter.
This will allow you to keep track of where the tape has been put.
Step 2: Paint the bottle
If the natural color of the bottle fits in with your aesthetic preferences, you do not need to paint it. You may proceed with the project.
On the other hand, when there is a specific festival such as Thanksgiving or Christmas, you should paint the appropriate hue in accordance with the festivities.
To paint wine bottles, spray paint is the most effective method, but you may also use thick paint purchased from your neighborhood craft store. You can swiftly paint the entirety of the bottle without allowing any of the paint to go on your hands.
It’s also a good idea to paint using a brush, especially if you’re going for a very polished look at the end result. Paint the bottle after first placing it on top of a piece of cardboard or newspaper. Allow the paint to cure completely overnight.
Step 3: Spread the glue, then sprinkle on the glitter
Put some newspaper or cardboard down on the floor before proceeding with the next step to protect your floor and furnishings. Next, spread the glue all over the bottle that you are using.
The use of a brush to apply the adhesive would be ideal since it would allow for precise application of the glue to all of the parts of the bottle that are being targeted.
After you have applied the glue, you should immediately add the glitter. After you have applied the adhesive, you must not allow the bottle to get dry. Shaking the bottle with the glitter already inside is the most effective way to apply glitter.
You may alternatively pour the glitter over the paper and then use your hands to spread it over the glue once it has been applied. Check each area carefully for spots where the glitter was not placed evenly, and then apply additional glitter to those spots.
Continue to sprinkle glitter over the bottle until it is completely covered with the substance. If the glue dries before you apply the glitter, you may repeat this process by spreading another thin layer of glue over the places that need it and then adding the glitter to finish it off.
After you have meticulously applied the glitter, wait at least a day for it to dry completely.
Step 4: Rid yourself of the tape
In addition, you have the option of removing the tape before allowing the glitter to dry. If the glitter has already dried, locate the tape that was placed and carefully peel it off. Be certain that you won’t be removing the glitter.
If the tape firmly adheres to the bottle, you should first use a sharp knife to carefully remove the edges of the tape, and then you should peel it carefully.
Step 5: Finish off the glitter coat with
Even if you have applied the glitter with care and bonded it, it is still possible for it to fall off and spread all over your home. Because you probably do not want your hard work to be scattered all over the home, it is essential to ensure that the glitter stays contained within the bottle.
When sealing off the glitter for the second time, use a gloss enamel finish. Spray it evenly all over the glittering area in a cautious manner. After you have applied the first layer, wait for it to dry.
The second layer should then be applied to ensure that the glitter is well covered and protected. The drying process won’t take more than ten to twenty minutes.
Step 6: Use the welcoming tag
Print out personalized tags like Thank you, Cheers, and Congratulations, as well as other tags appropriate for the occasion, and then glue them on top of the glittery bottle to create a personalized sticker.
Now you know how to make some very fantastic-looking alcohol glitter bottles. If you want to make something special for your house, give this strategy a try.
Things you should know when creating your custom liquor bottles
1 – Bottle weight
There are a lot of variables that might affect the final weight of your goods that need to be accounted for before they can be sent.
Key decisions include whether to utilize crystal or glass; crystal is heavier and more expensive than glass, but it has an opaque finish and creates rainbow prisms in sunlight.
Equally, the bottle’s final tally may change depending on the closure you opt for.
Another factor that might increase the price is if you choose custom packaging or a presentation display.
Filling your bottle
Although it may seem like a no-brainer, the fill level of the bottle is a design detail that often gets missed.
In terms of fill, considerations like the design’s form (oval with a shallow neck, for example) and material thickness will be paramount.
Alcohol expands when heated, therefore if the product is going to be marketed in warmer locations, space must be allotted for the expansion.
Sizing it up
You want your product to be noticeable, but you also need to make sure it can be displayed comfortably on a shelf.
Since so many bottles are of the same height and breadth, we may safely assume that this is the ideal proportion for efficiency in production, distribution, and storage.
In light of this, it’s important to think about how many bottles will fit into a case, how many cases will fit on a pallet, and how many bottles will fit on a shelf before finalizing the bottle’s size and form. The question is how many the store can actually stock.
Furthermore, can your bottle be properly stored if it is going to be duty-free and consequently brought onboard a plane?